Best Website Builder
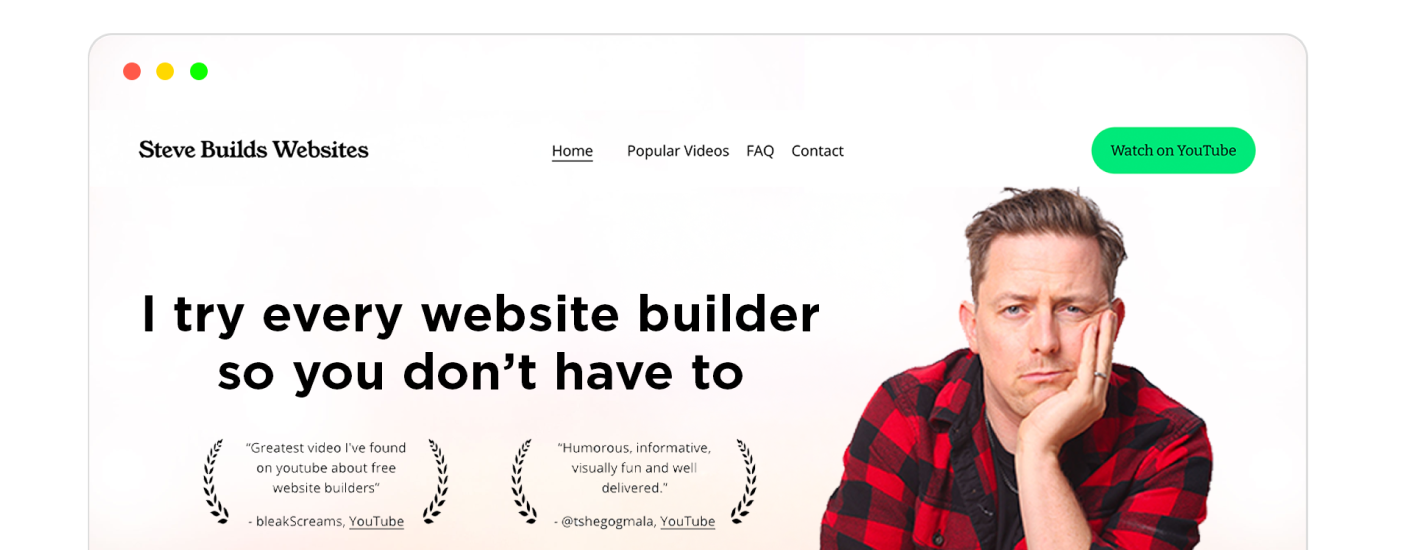
I test every website builder so you don’t have to. These are my rankings of the best website builders for 2026.
Our work is supported by affiliate commissions. Learn More
By Juhil Mendpara | Updated Dec 31 2025
Wedding websites are simple by nature: they share key details, manage RSVPs, and set the tone for your big day. So, unless you’re chasing a web design award, they’re easy to get right.
This guide shows you how to build a beautiful, practical wedding website—one that reflects your story as a couple, keeps guests in the loop, and sets the stage for a day full of meaning.

Squarespace Overview (2:41)
We’ve tested 50+ general-purpose and niche wedding website builders. Squarespace emerged as our top recommendation for wedding websites due to its perfect balance of stylish design and practical functionality.
Squarespace is intuitive, responsive, and secure. You don’t need to know code, design theory, or web development. Just choose a template, customize it to reflect your wedding vibe, and go live.

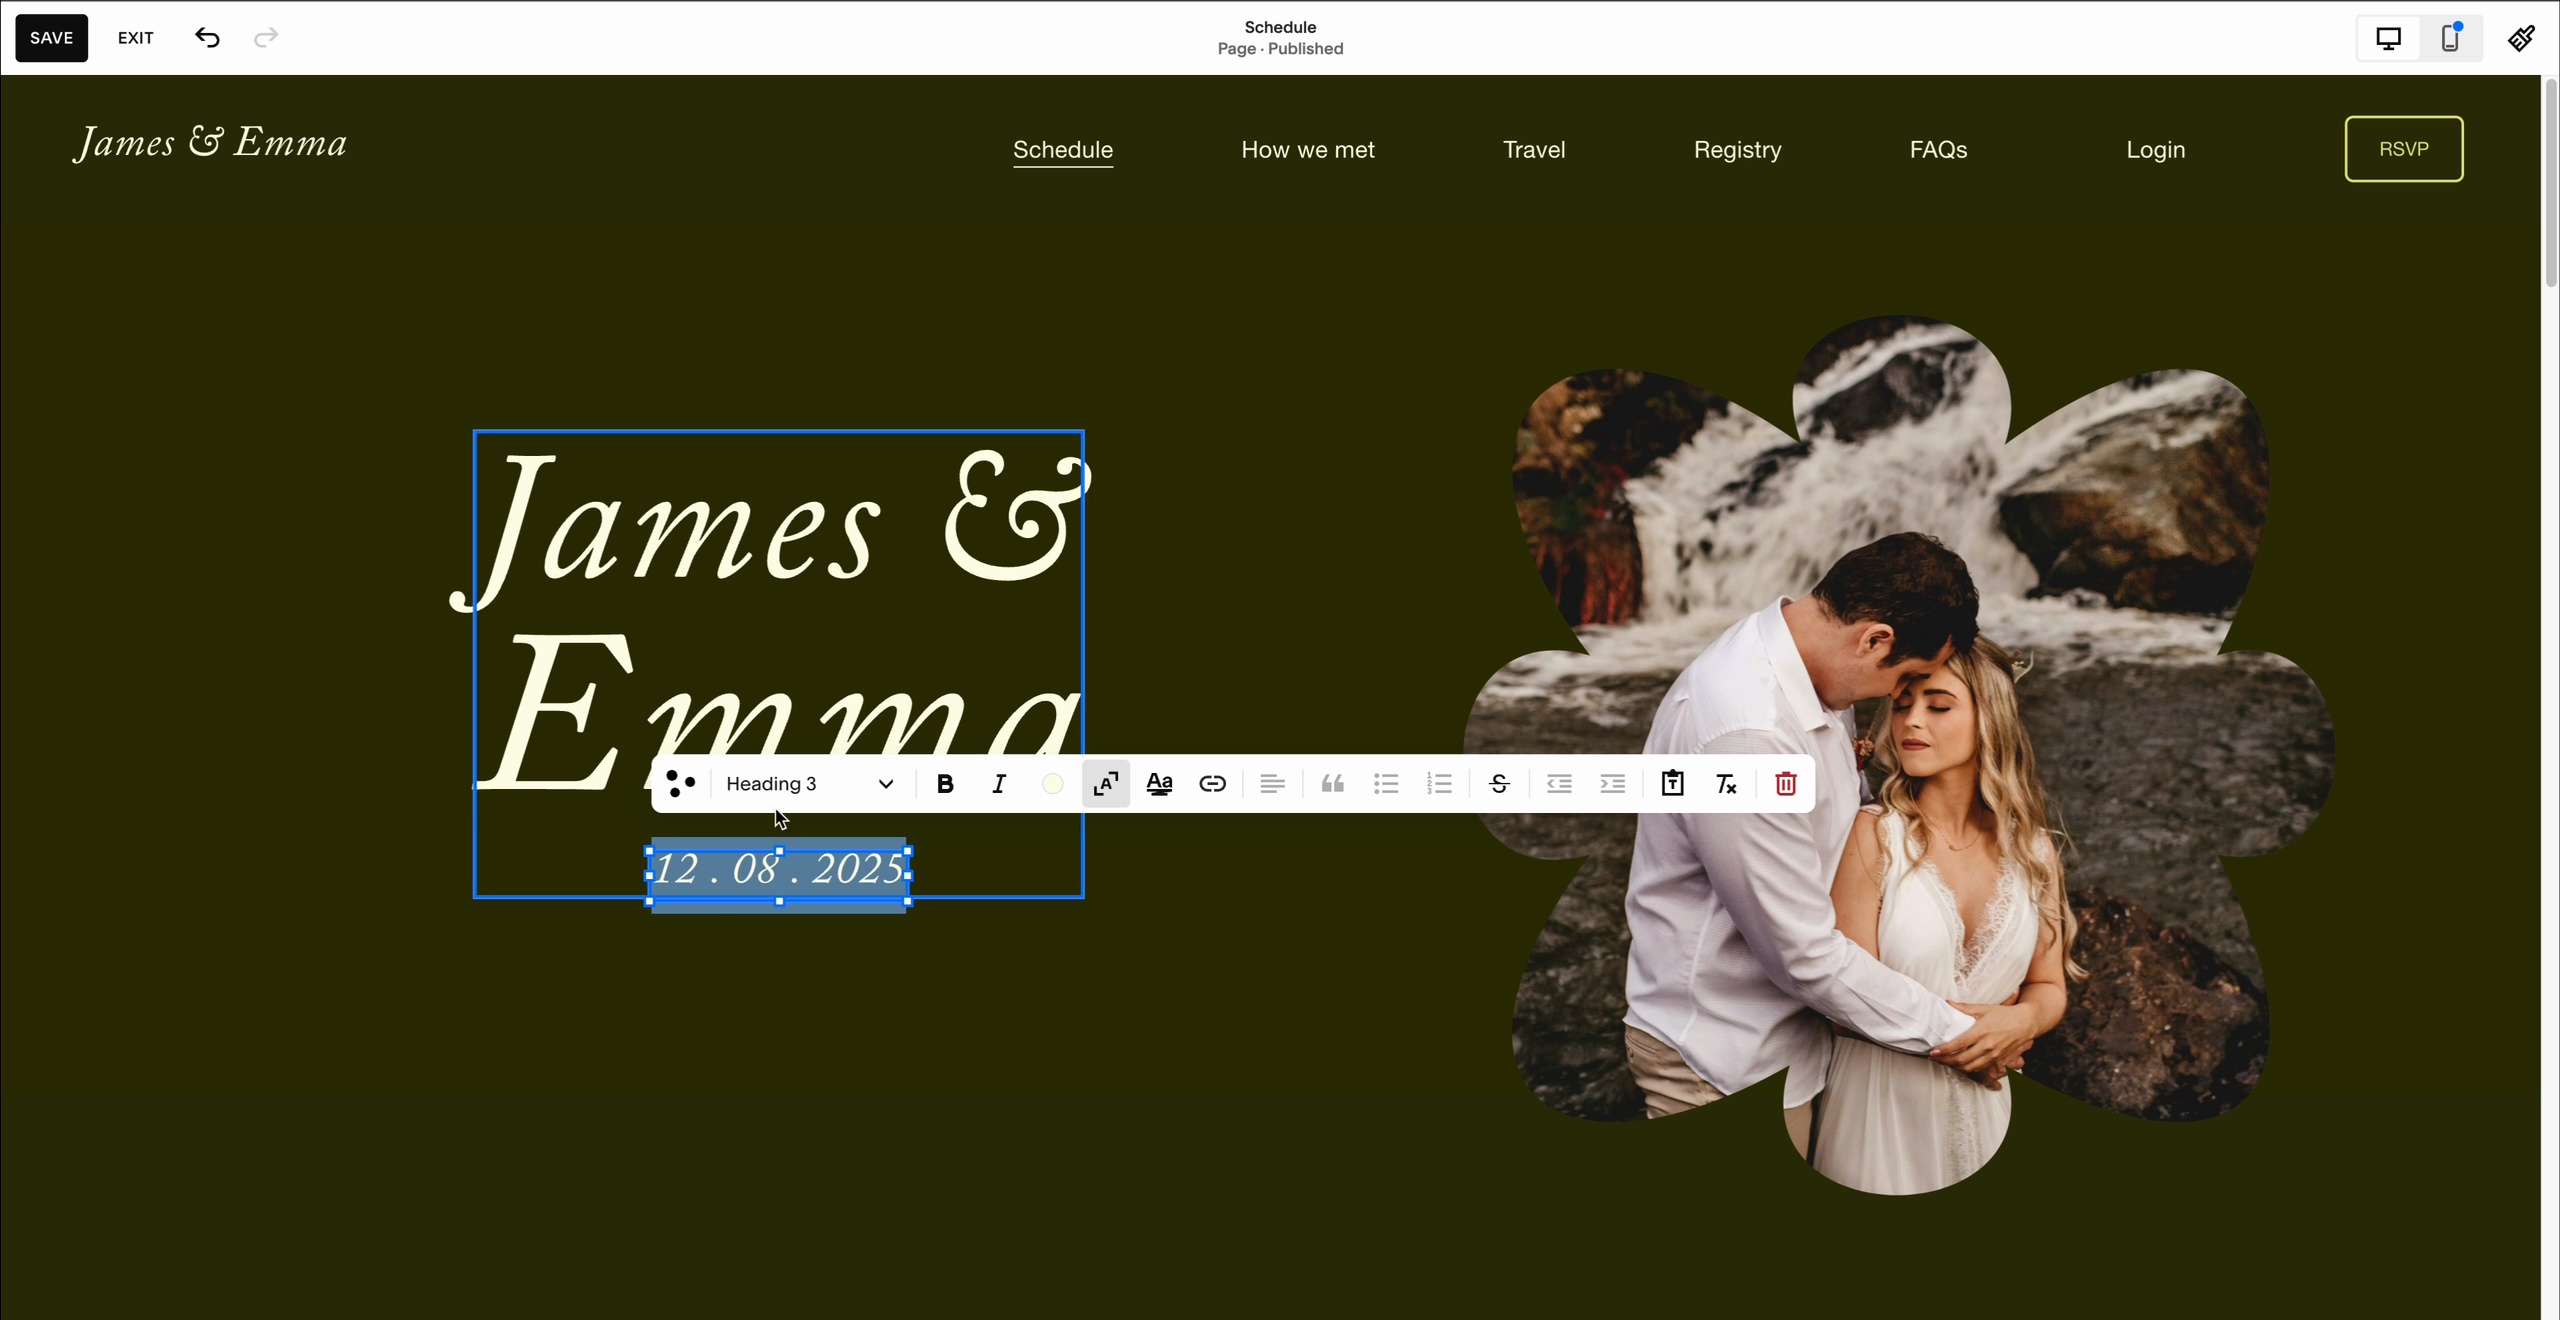
An example of Squarespace’s wedding template
Squarespace's page editor.
Powerful Built-in Tools For Your Wedding Website:
Side Note: Although this guide is built with Squarespace in mind, you can adapt most of the steps for other platforms, such as Zola, Wix, or The Knot.
Another Side Note: Use code SBR10 to get 10% off on Squarespace.
Browse real wedding websites to see how others organize content and use design. Look at:
Save screenshots or links that feel like “you.” Knowing what you love and want your website to reflect makes the design process faster and less overwhelming.
A nice wedding website example
You enter Squarespace from this step. Choose the template that already feels close to your dream website (hopefully, you’ll have some idea about it after Step 0).
These are Squarespace’s free wedding website templates. The example I shared in the ‘Get Inspired’ section is an edited Soria template.
Pick a template that reflects your wedding aesthetic:
If nothing feels right, consider using Squarespace’s AI site builder, Blueprint AI, or delete the pre-populated pages of a template to start from scratch.
Most templates come with demo pages. Delete the ones you don’t need and/or add the ones you do.
Must-Have Pages:
Nice-to-Have Pages:
Style your site with colors, fonts, imagery, and spacing.
For Fonts:
For Colors:
Imagery:
Let your design choices echo the tone and vibe of your event. A few examples:
Once you have added the pages and chosen your style, it’s time to write the actual content for your wedding website. Think friendly, clear, and helpful for logistics and key details, and romantic and personal for your story and similar sections.
Here’s how to structure main pages:
This is the first thing guests will see—set the tone and make it welcoming.
Lay out the full schedule so guests know where to be and when. For example:
Also include:
Use form blocks. Fields to consider:
Link to stores like Zola, Amazon, Target, or wherever your registry is hosted.
Most guests will check your site on their phones. So, preview your website in mobile view. Check: Font readability, tap target sizes, form spacing, gallery behavior, etc.
Fix any layout issues manually using Squarespace’s mobile editing features.
Make your website memorable and easy to type by registering a custom domain. All Squarespace annual plans include a free domain for the first year.
A few examples of good wedding website domain names:
Pro Tip: Add a QR code linking to your site on save-the-dates or invitations.
Before sharing your site:
Then, publish!
Once it’s live: